Sections:
- What Is a Lithopane?
- What You’ll Need to Create a Lithophane.
- Free Picture to 3D Lithopane converter.
- Slicer Settings.
- Printing!
- And You Are Done!
What Is a Lithophane

A lithophane uses light and a 3D Print with variable thickness to display a mono-color image. By making certain print parts thicker, more light is diffused, showing up as a darker section of the image. On the other hand, the thinner sections diffuse less light, showing up as brighter sections. This allows the print to create a monographic image (an image that uses different shades of a single color).
What You’ll Need to Create a Lithophane
Now that’s great and all, but how exactly do you 3D print one? We’ll show you! To get started, here is what you need:- A 3D Printer
- White Filament
- An image that you want to print!
- Slicer
- A computer with an internet connection(duh!)
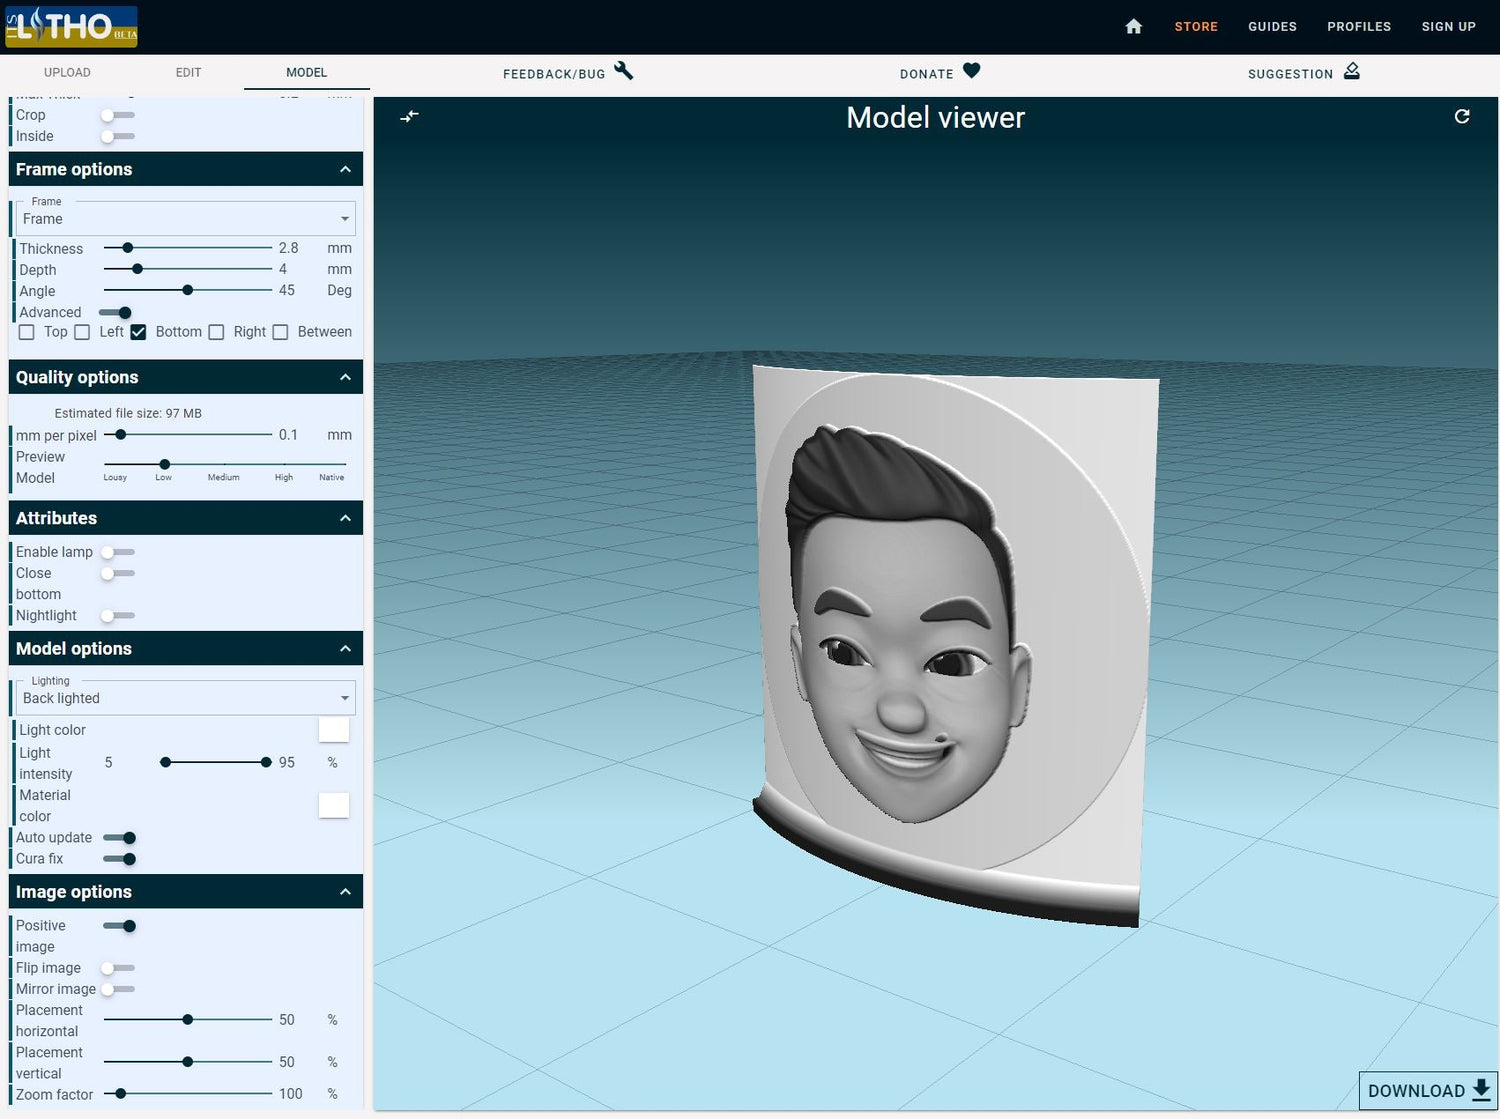
How to Generate a Free 3D Lithophane

They each have slightly different shapes, designs, and setting configurations available. We would recommend trying all of them and selecting your favorite. After all your customizations, you should be able to download the finished model as an .STL file.
Slicer Settings

- 100% solid print (this can be achieved through 100% infill or significant wall thickness).
- Print slow! The slower your print, the crisper the details will come out. We recommend printing with 25-45 mm/s, but you can go quite a bit faster depending on the quality of your printer.
- Print with the smallest layer height possible!
Printing

2 comments
Warwick
Also perfect timing, I did my first one the other day and was very surprised with no modifications to the print, just wanted to try it out it came very well, a Kangaroo and scenery and for my next trick, I will try mods and different filament, very cool.
Also perfect timing, I did my first one the other day and was very surprised with no modifications to the print, just wanted to try it out it came very well, a Kangaroo and scenery and for my next trick, I will try mods and different filament, very cool.
Barry
Perfect timing for the article. I just ordered some white pla yesterday for a couple of lithophanes.
Perfect timing for the article. I just ordered some white pla yesterday for a couple of lithophanes.